What to Know First
VMware Workstation Pro is now completely free no license key required, for personal, commercial, and educational use. However, downloading requires creating a free Broadcom account, as installers are hosted on the Broadcom Support Portal.
Step 1 — Check System Requirements
Before installing, make sure your PC meets these minimums:
OS: Windows 10/11 (64-bit) or a supported Linux distro
CPU: 64-bit processor (Intel or AMD)
RAM: 4 GB minimum (8 GB+ recommended)
Disk: 2 GB for the app + space for your VMs (10 GB+ recommended)
Step 2 — Create a Broadcom Account
Go to broadcom.com
Click Sign In → Register and create a free account
Verify your email
After registration you login its look like this you need to click available HERE
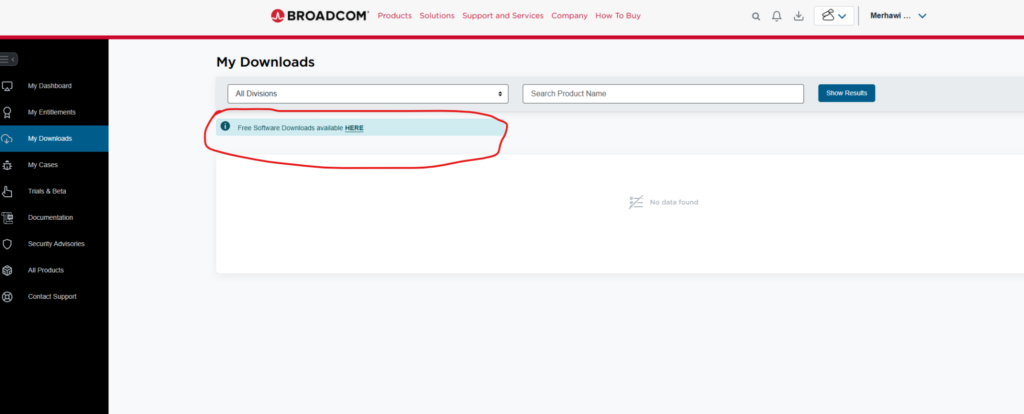
After you click you see all the new versions and for different operating systems .
You can choose which operating system you used, I am using windows 11
I choose the latest version for windows I clicked
After you click you see all the new versions and for different operating systems .
You can choose which operating system you used, I am using windows 11
I choose the latest version for windows I clicked
After you click you see all the new versions and for different operating systems .
You can choose which operating system you used, I am using windows 11
I choose the latest version for windows I clicked
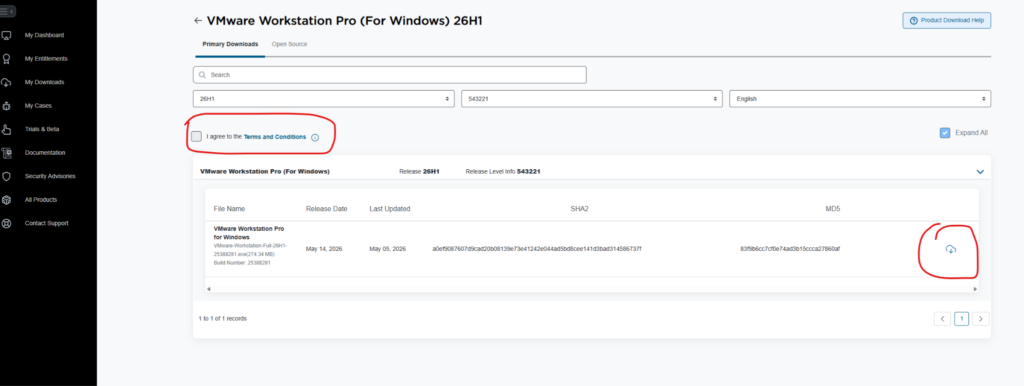
After I clicked its looked like this you need to read the agreement Terms and conditions after you read
You need to check I agree. after you check you have to click the download button.
Step 3 — Install on Windows
To install VMware on Windows Locate the downloaded VMware-Workstation-Full-26H1-25388281.exe file, double click the installation file and follow the instructions to complete the installation. Click Next at all steps until the process is completed.
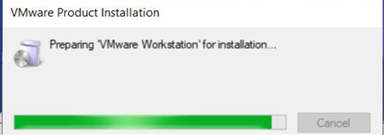
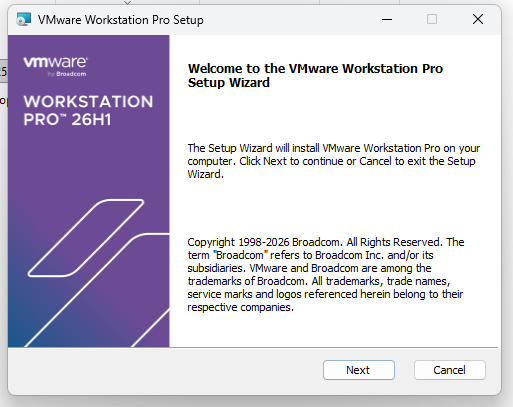
Now you will see the VMware Workstation setup wizard dialog box. Click Next to continue
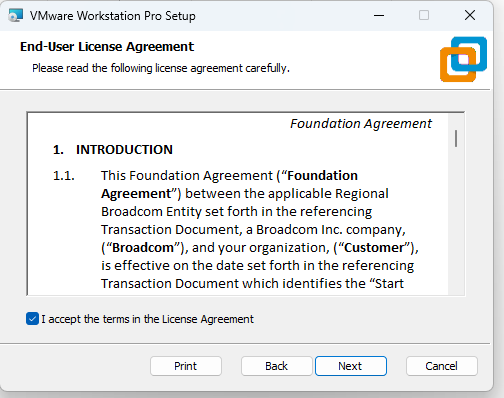
End-User License Agreement dialog box Check “I accept the terms in the License Agreement” box and press Next to continue
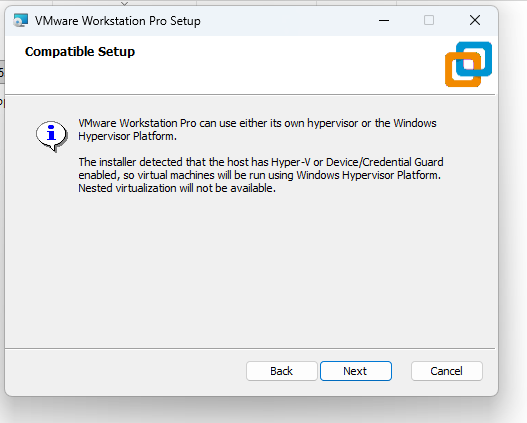
Compatible setup VMware Workstation Pro. click Next to continue
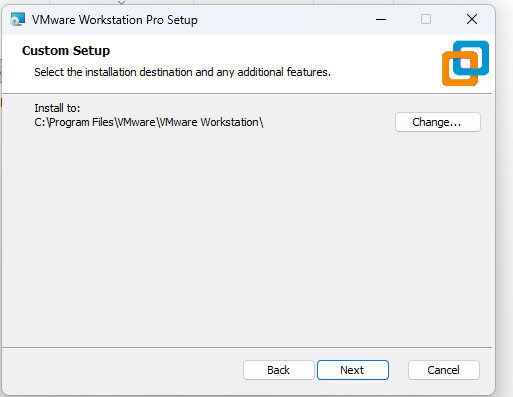
Select the folder in which you would like to install the application. There is no harm in leaving the defaults as it is, and click Next to continue
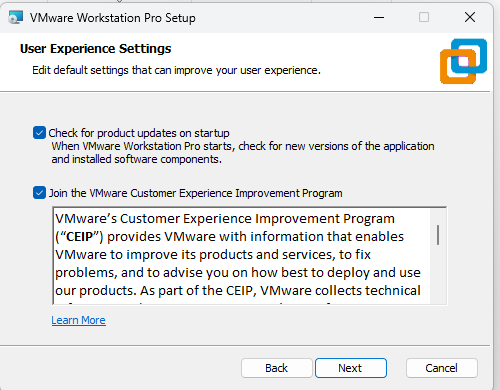
Next you are asked to select Check updates and help improve VMware Workstation Pro. Do as you wish. I normally leave it to defaults that are unchecked. Click Next to continue
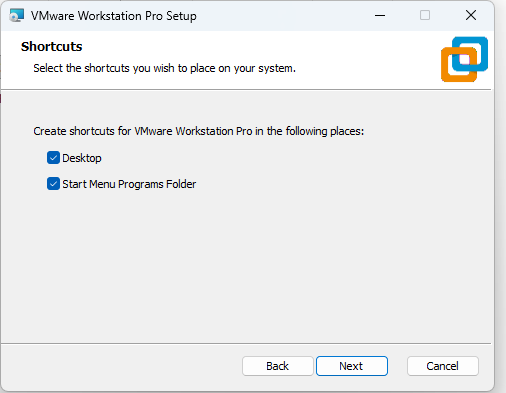
Next step is to select the place you want the shortcut icons to be placed on your system to launch the application. Select both the options, Desktops and start menu Programs Folder and click Next.
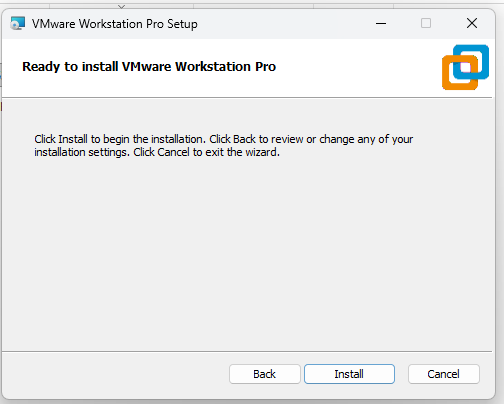
Now you see the beginning installation of VMware Workstation Pro . Click Install to start the installation process.
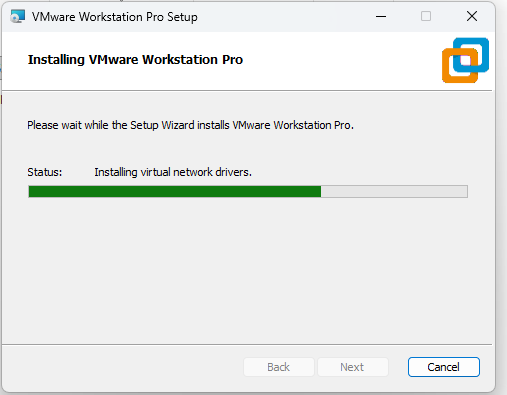
Now shows Installation in progress. Wait for this to be complete.
At the end you will see the installation complete . Click Finish and you are done with the installation process. You may be prompted to restart your PC if asked.
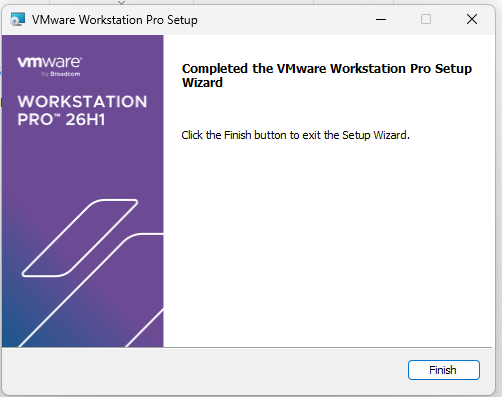
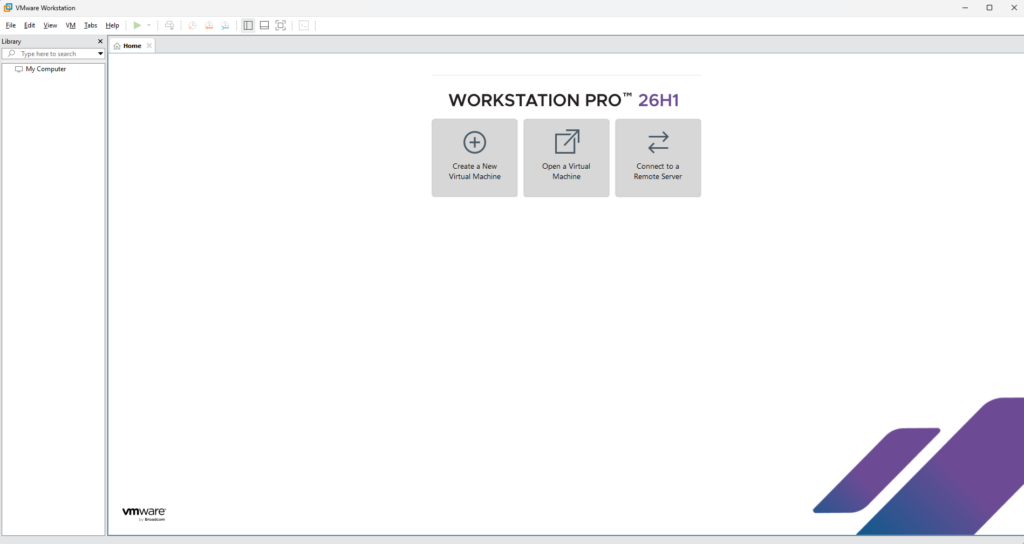
It looks like this: You can start using VMware Workstation.