Download pfSense firewall from below link version 2.8.1 with AMD64 Architecture.
pfSense Plus & pfSense CE software downloads are available for installation via the Netgate Installer. Click the “Download” link below to redirect to the online store and download the Netgate Installer package.
https://www.pfsense.org/download
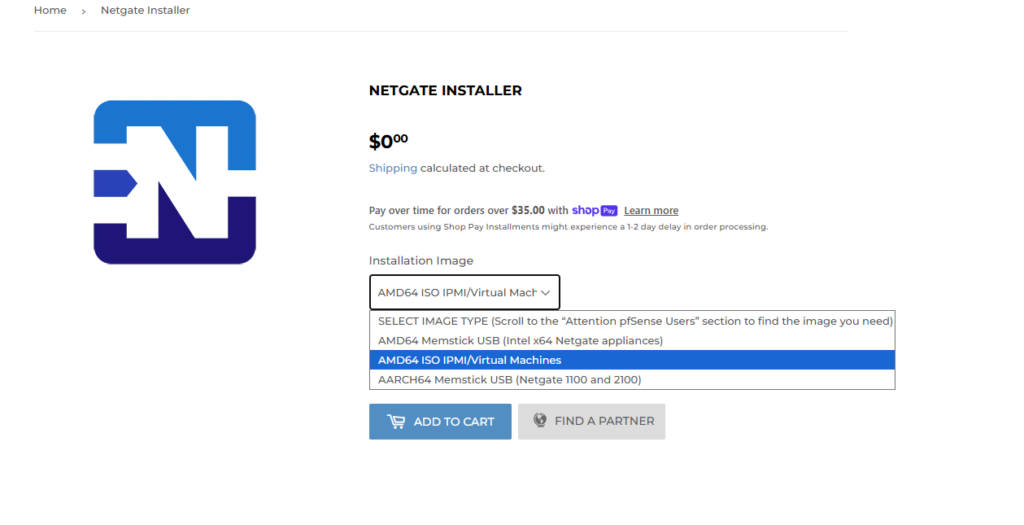
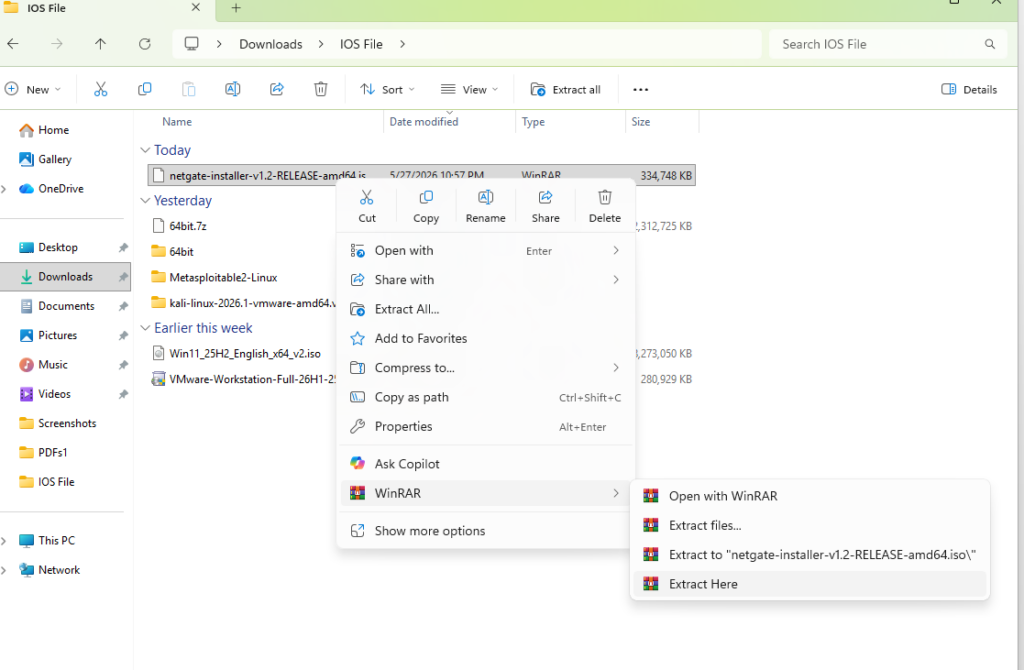
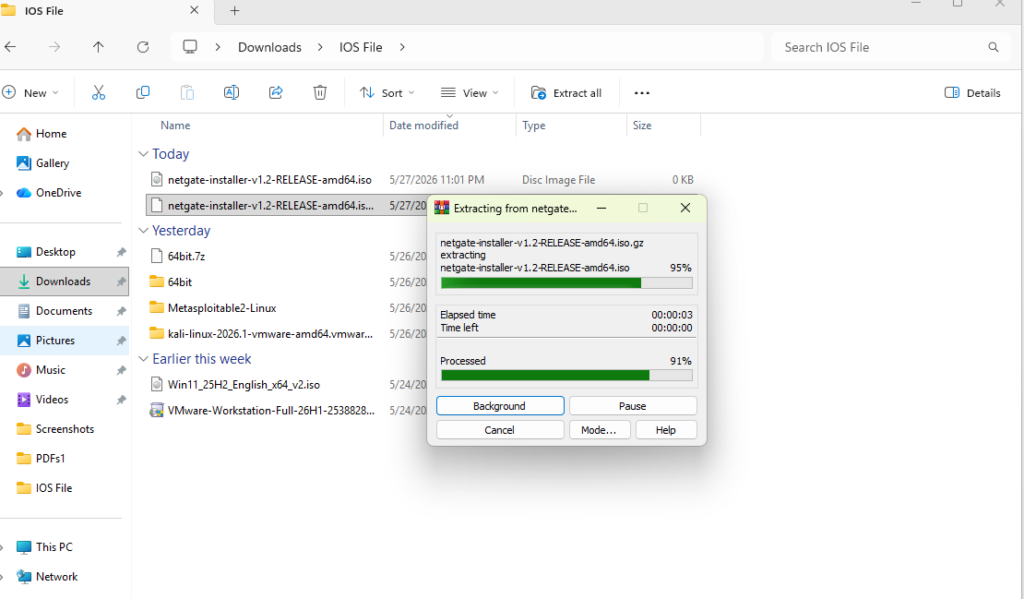
pfSense-CE-2.8.1 -RELEASE-amd64.iso.gz IPM/Virtual Machine is the installer version. If you have a 64-bit capable CPU, use the amd64 version. The amd64 architecture works on Intel 64-bit CPUs. When pfSense is downloaded it will have a .gz extension which indicates that it is compressed. So use WinRAR to decompress the ISO.
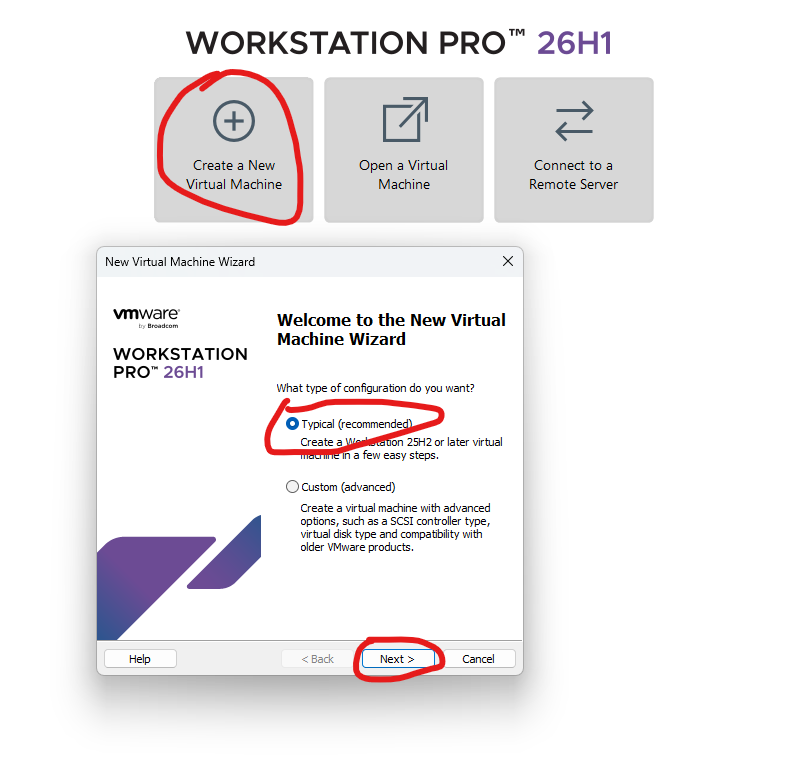
Once you have VMware open, we can get started by clicking Create a New Virtual Machine.
In the wizard, click Typical(Recommended)
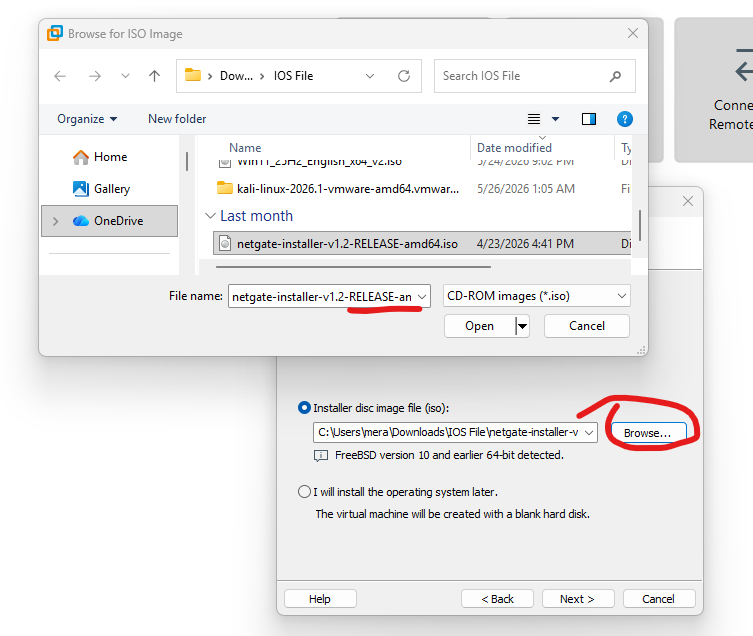
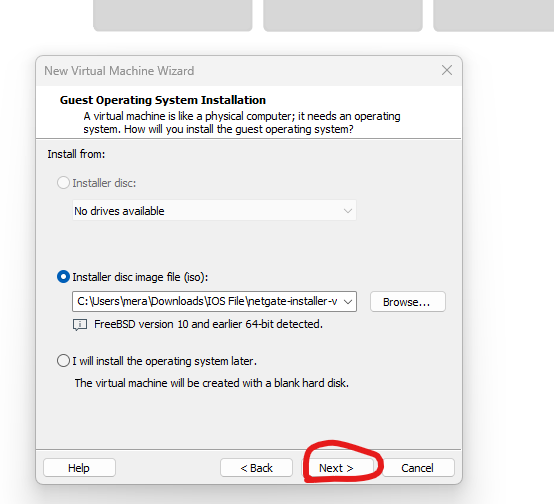
Install the disc image file(ios), Browser for the pfSense iso download
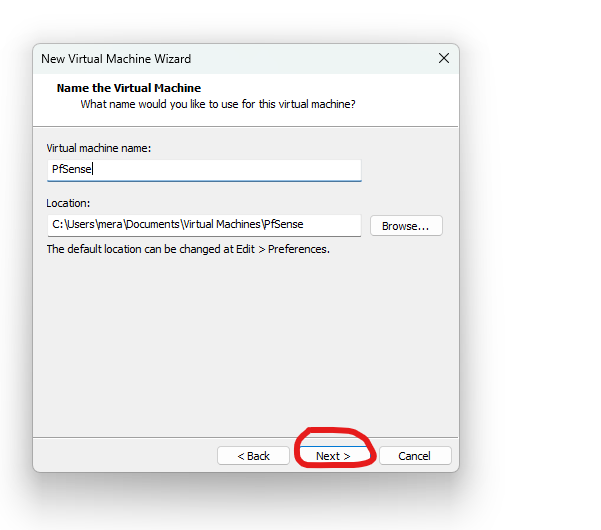
Name the virtual machine pfSense and location where to store new virtual machine wizard
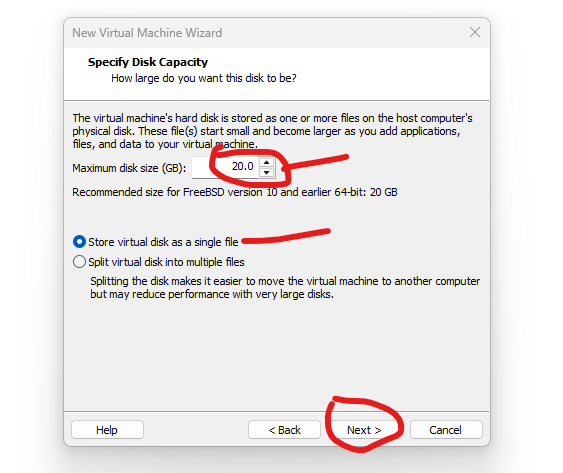
Check to Store virtual disk as a single file and set Maximum disk size(GB): 20 in this case.
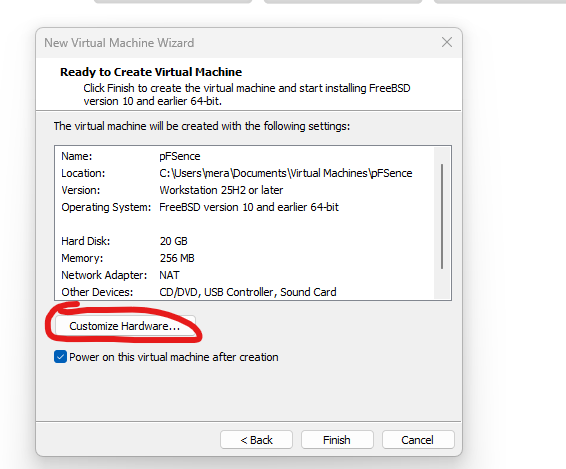
Click on Customize Hardware to change the setting new Virtual Machine Wizard
Install, the Virtual Machine only had one network adapter but based on our Lab topology, will need 5 interfaces for this lab. So click add then select network adapter and continue to do this until there are six in total. Also remove things we do not need such as USB controllers and sound cards.
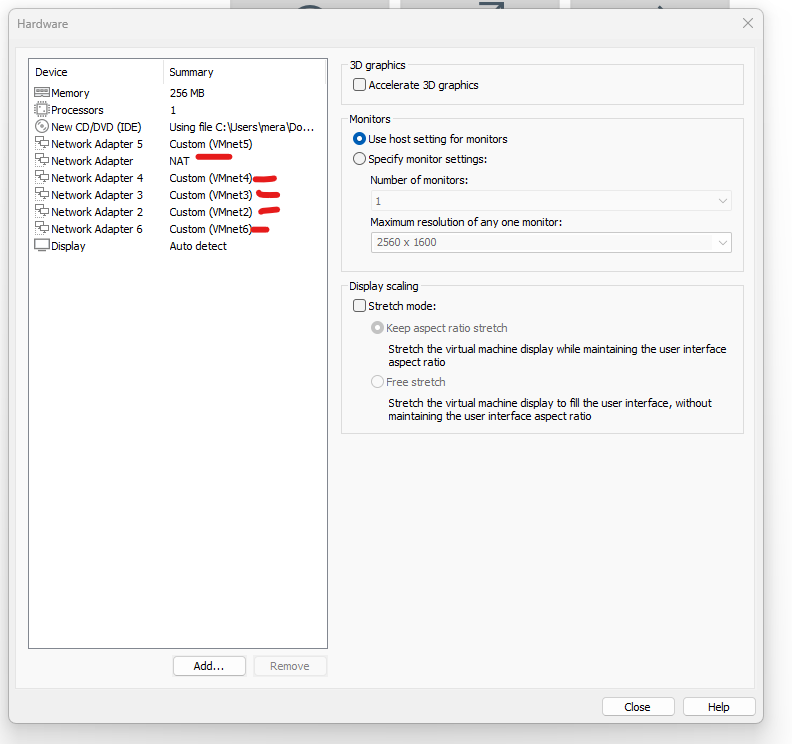
Add 5 network adapters and correspond them with a VMnet interfaces such as Network Adapter 2 to VMnet2, Network Adapter 3 to VMnet3, Network Adapter 4 to VMnet4, Network Adapter 5 to VMnet5 and finally Network Adapter 6 to VMnet6.
Configure a virtual machine to use custom: Specific virtual network. Select a specific virtual network VMnet from the drop-down menu. Click the OK button to save the changes.
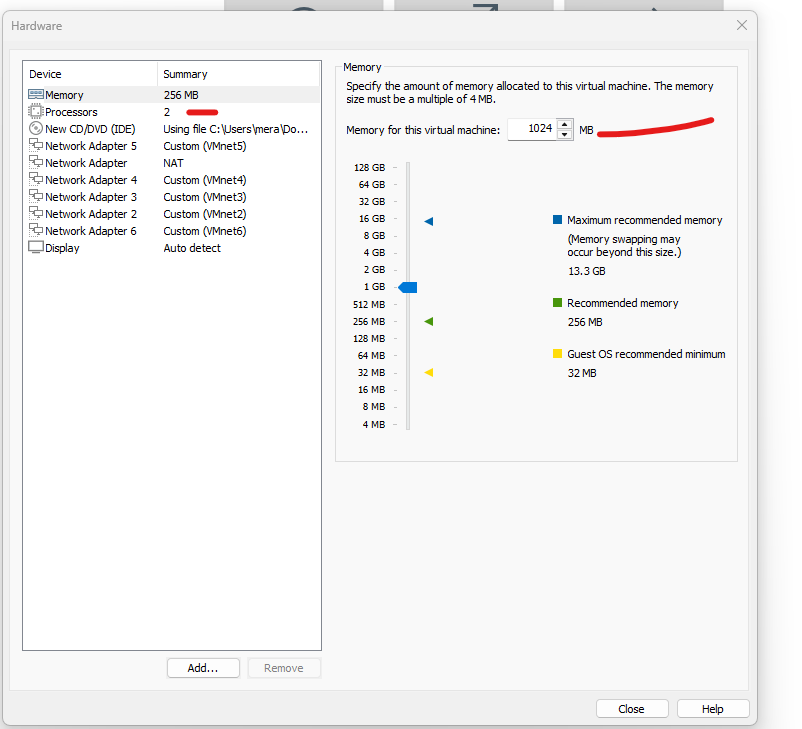
Memory for this virtual machine 1 GB, processors 2 after you configure close and finish.
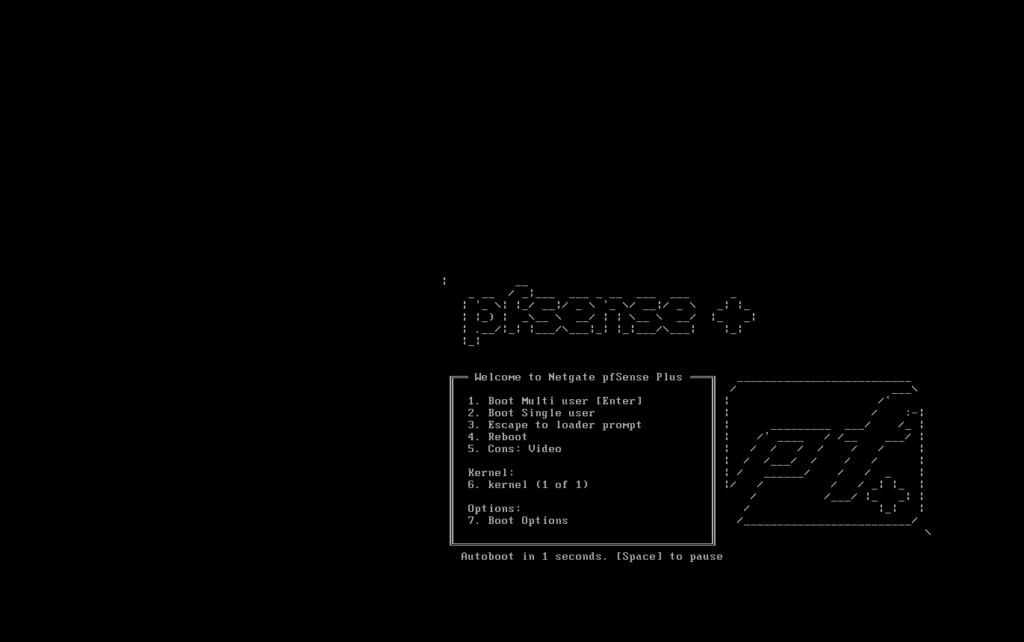
After you configure finish it starts installation
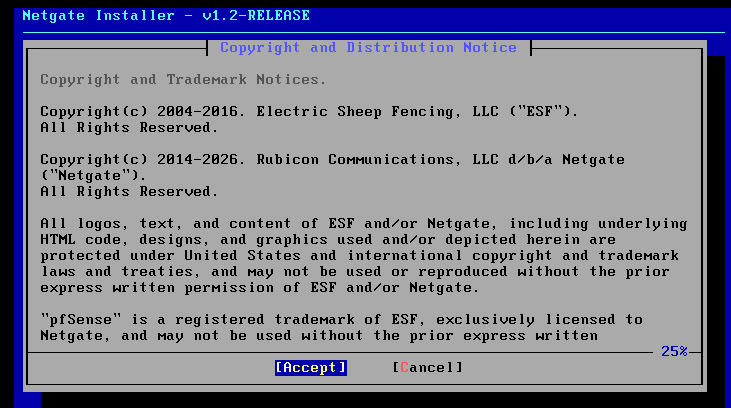
On the next screen, you’ll be asked to configure the console. Just click accept to move forward with the installation process.
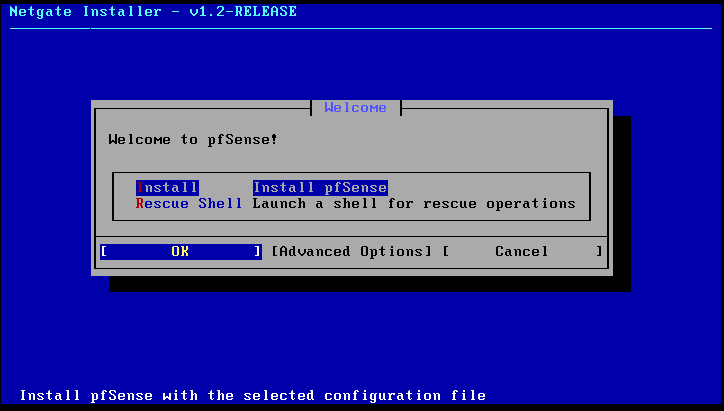
Proceed with the install option and select Ok.
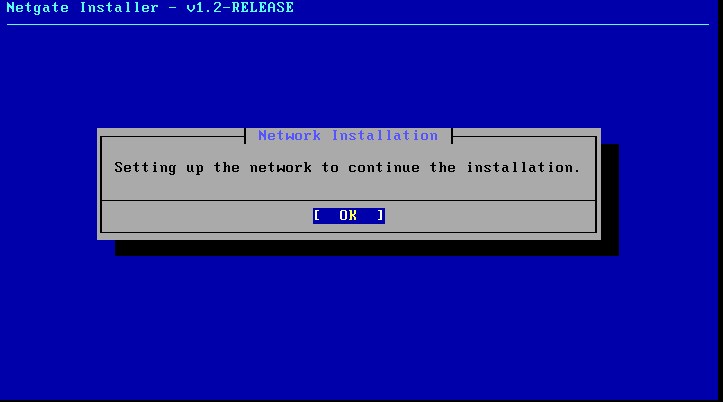
Proceed with the Network installation option select OK
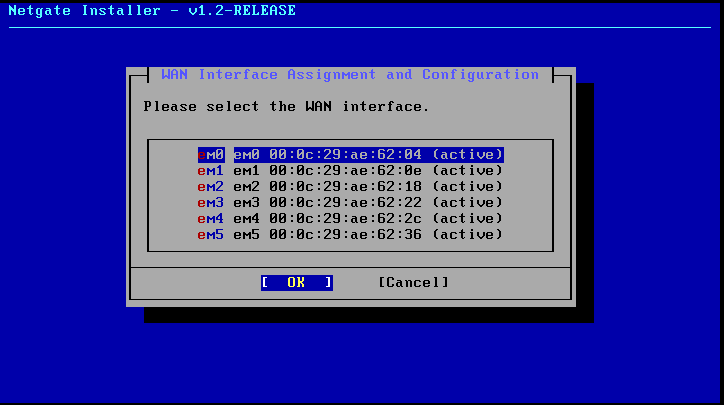
With select the WAN interface click OK.
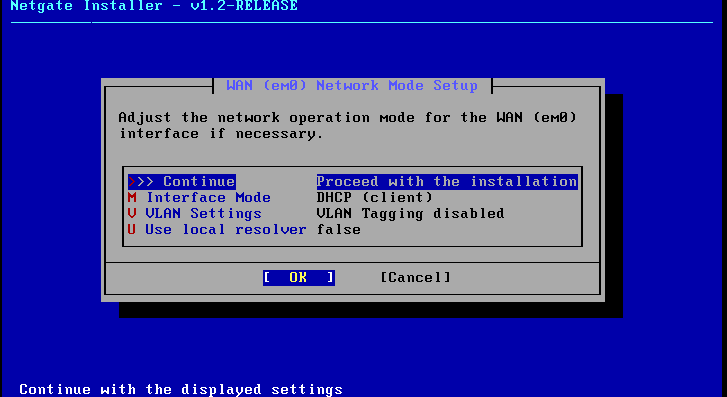
WAN (em0) Network Made Setup Continue proceed with the installation click OK.
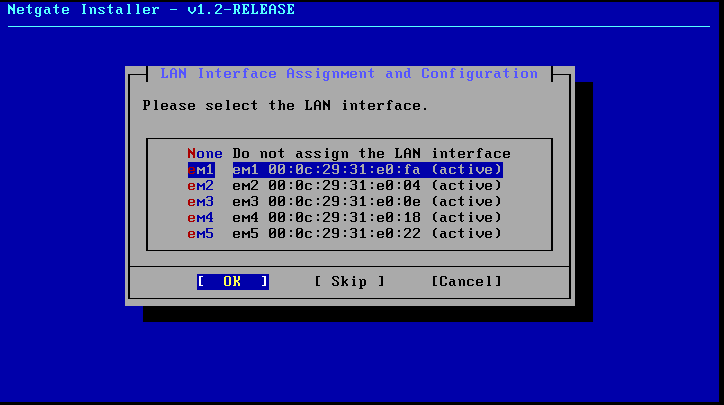
LAN Interface Assignment and configuration select (em1) and click OK.
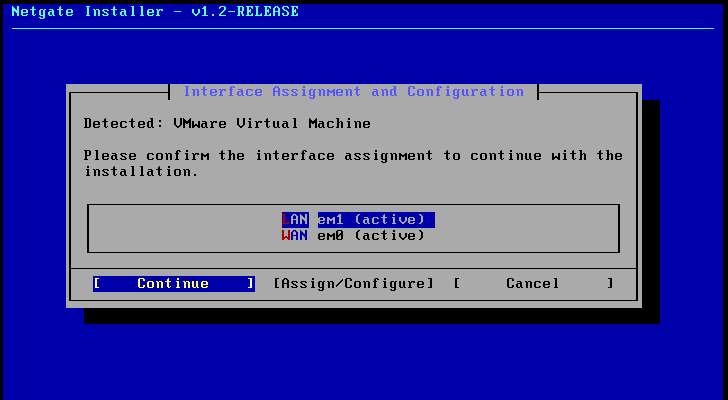
Confirm the interface assignment to continue with installation
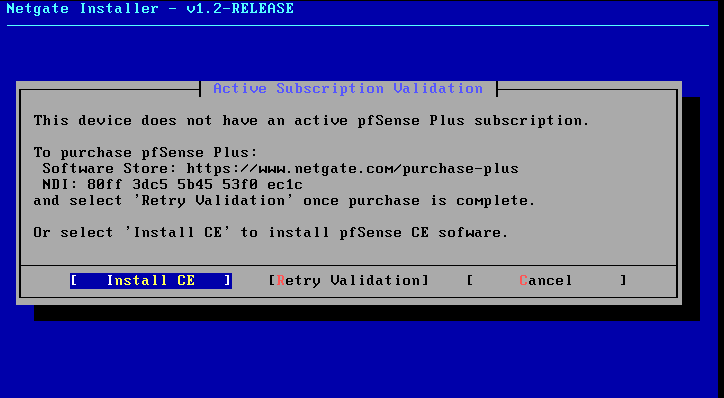
Active Subscription validation but this device does not have an active Pfsense Plus subscription click Install CE
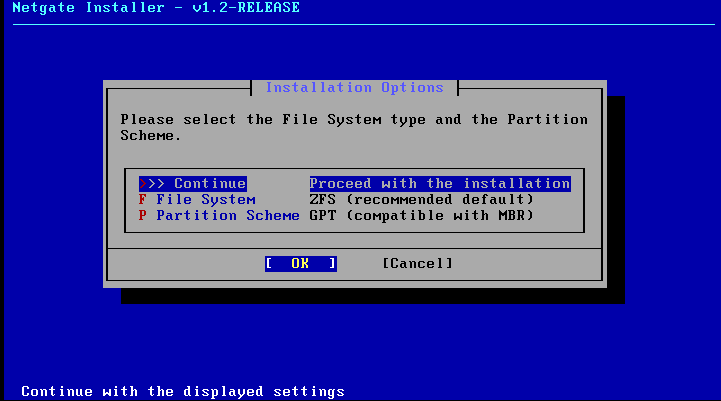
Continue Proceed with the installation option click Ok.
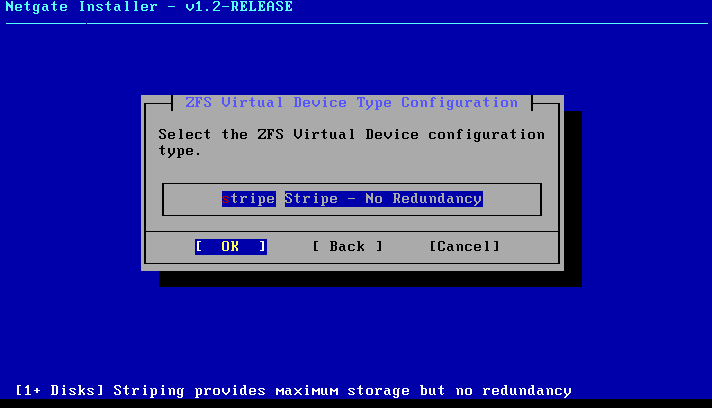
ZFS Virtual Device configuration type click OK
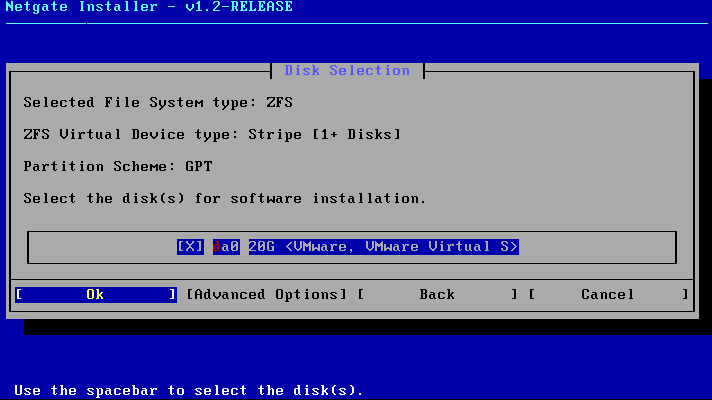
Next, select the disk on which you want to install PfSense. In my case, I am choosing my available dedicated virtual storage on VMware.
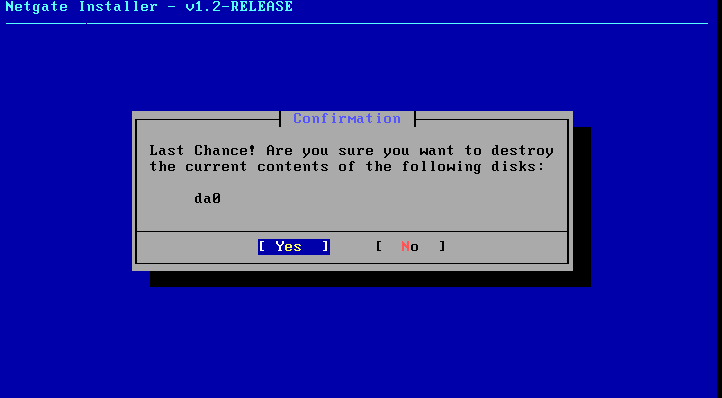
ZFS configuration press Tab to choose Yes and Enter to continue.
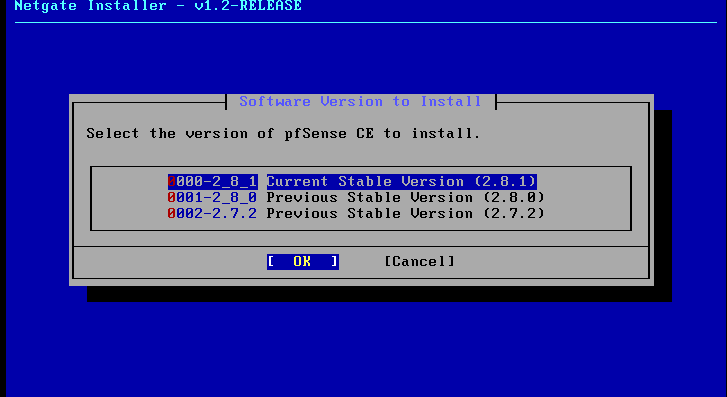
Select the current version of pfSense CE to install click OK
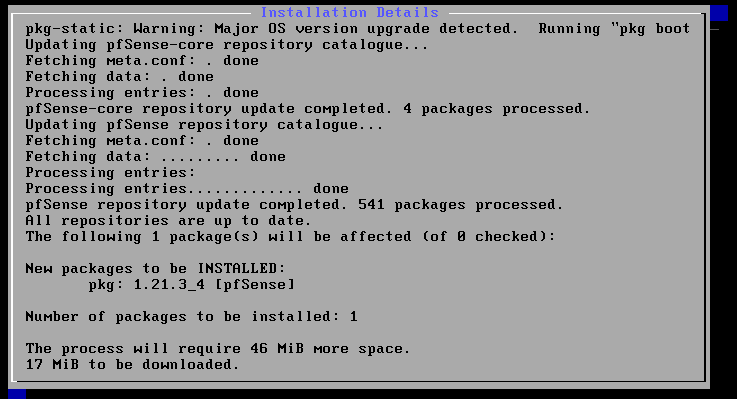
Please wait while the installer extracts the installation files. During the installation process, the selected drive(s) will be formatted, and the pfSense software will be copied to the target disk(s). The installer is currently reading the installation media and transferring the required files to the destination drive.
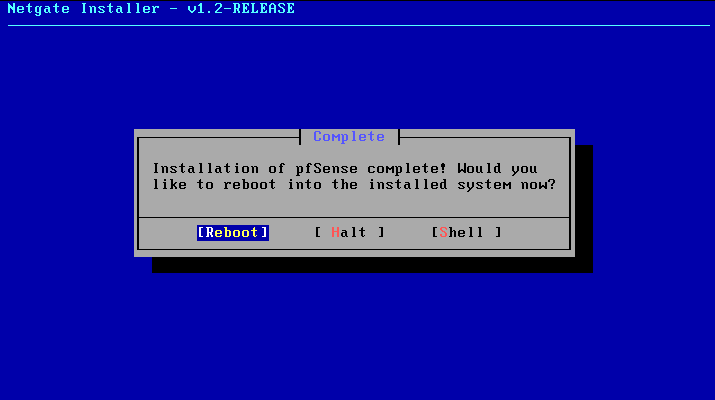
After pfSense Installation setup is done click OK.
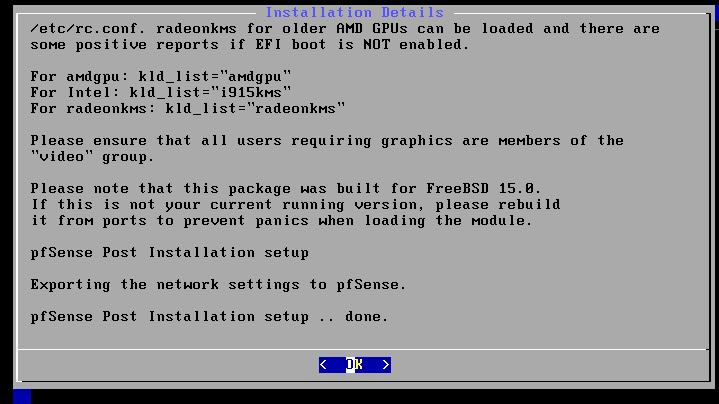
Reboot the machine to get the GUI session of your PfSense installation.
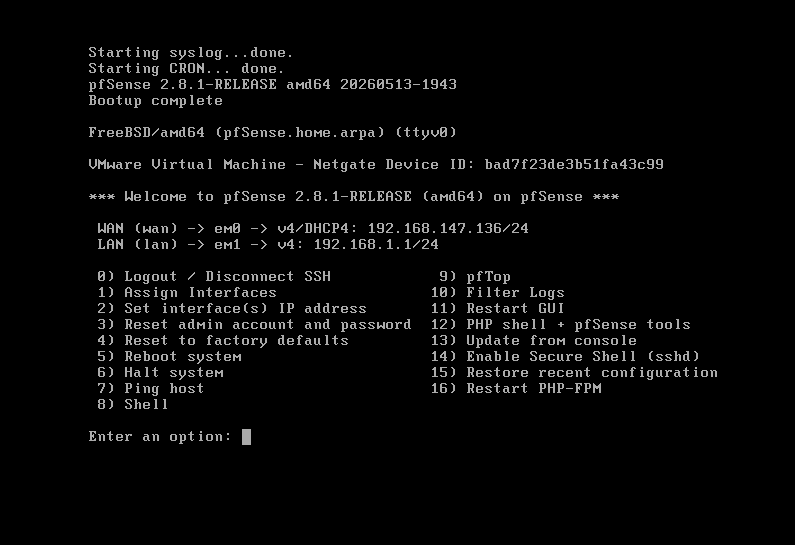
After restarting, you’ll see the PfSense interface. The PfSense LAN interface automatically gets the 192.168.1.1/24 IP address by default. In my case, I have two interfaces on my PfSense machine: em0 for WAN connectivity, which gets the 192.168.147.136/24 IP address. em1 for LAN connectivity, which gets the 192.168.1.1/24 IP address by default.